Kaltura Tutorials:
How to Share your Media
How to Publish a Video
-
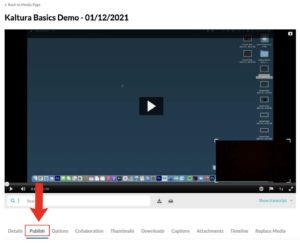
Go to Kaltura My Media and click on the pencil (edit) icon on the video you want to publish:
-
Navigate to the Publish tab:
-
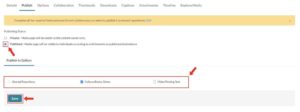
Change Publish Status to “Published” by checking the circle next to it then go to Publish in Gallery and select which course you want the media to be published to by checking the box next to its name. Once you’re done, hit “Save”.
-
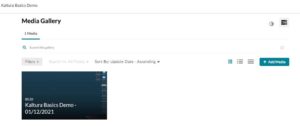
Your recording should now be showing under the Kaltura Media Gallery for the course.
How to Embed a Video
- The Plug Method:
This method is the simplest however it is limited to media found in Kaltura and other pre-approved cloud platforms.
-
Once you’re editing the page you want to embed a video in, locate the “plug” icon and then click on “Embed Kaltura Media”:
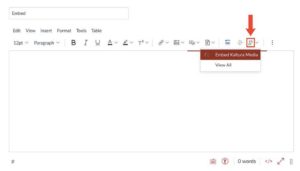
↳ By clicking on “View All”, you will have other options to embed from such as Box or Google Drive.
-
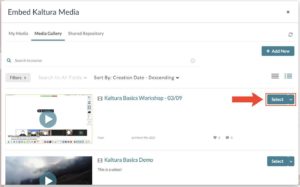
You will then be taken to the selection interface. Click on “Select” next to the video you want to embed:
-
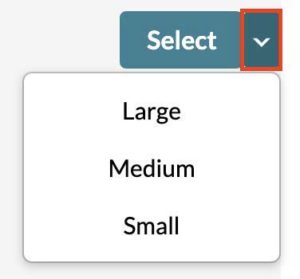
- ↳ You can choose the size of your video player by clicking on the arrow next to “Select”:
-
-
Add any other content you’d like and then hit “Save” when you’re done:
-
The video should now appear on your page:
- The General Method:
This method is more complicated however it can be used for general embedding meaning this same method can be used for embedding videos that aren’t in Canvas as long as you have the embed code available to you.
If embedding a video from a platform other than Canvas, skip steps 1-3.
-
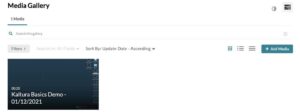
Go to Kaltura Media Gallery or Kaltura My Media and select the published video you want to embed:
-
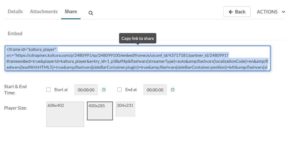
Navigate to the Share tab:

-
Copy the Embed link:
-
You can select a start point by checking the “Start at” box and choosing a time.
-
You can select an end point by checking the “End at” box and choosing a time.
-
You can select a video player size by clicking on one of the three rectangles.
-
-
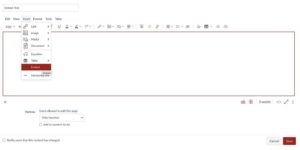
Go to the Page you want to place your embedded video at and select “Edit” or create a new page. Once you’re in the edit page, go to “Insert” and then select “Embed”:
-
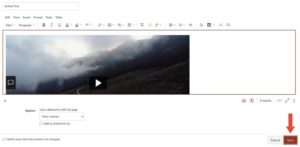
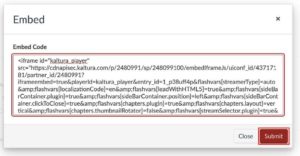
Paste the embedded link you previously copied in the text box and click on “Submit”:
-
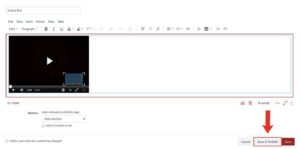
Add any other content you’d like and then hit “Save & Publish” when you’re done:
-
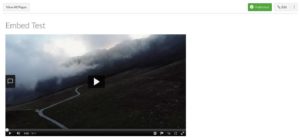
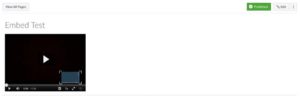
The video should now appear on your page:
How to add Collaborators to your Media
-
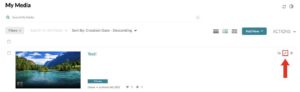
Go to Kaltura My Media or Kaltura Media Gallery and click on the pencil (edit) icon on the video you want to add collaborators to:
-
For Kaltura Media Gallery, click on the “…” icon to display the edit button:

-
-
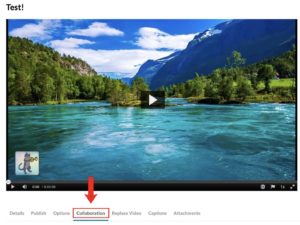
Navigate to the Collaboration tab:
-
You will then be met with two options:

-
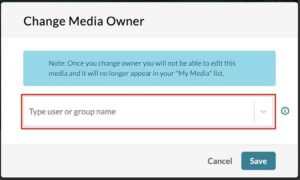
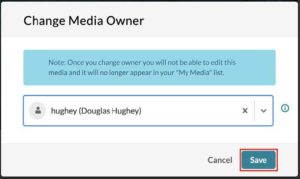
Change Media Owner: Change who can administer and is credited with media.
-
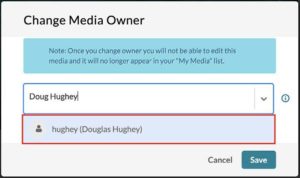
Click on “Change media owner”, type in and select the name or WUSTL key of the person you want to be the new owner and then hit “Save”:
-
-
Once you change owner you will not be able to edit this media and it will no longer appear in your “My Media” list.
-
-
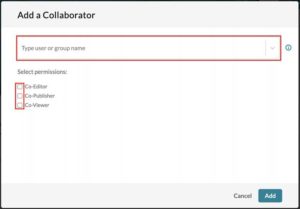
Add Collaborator: Select users that are allowed to edit the content metadata and related assets (such as caption files) and/or allowed to publish.
-
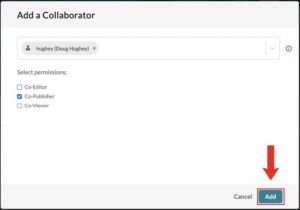
Click on “Add Collaborator”, type in and select the name or WUSTL key of the person you want to be the new owner, check the boxes next to the role you want to assign that person and then hit “Add”:
-
-
How to delete Collaborators from your Media
-
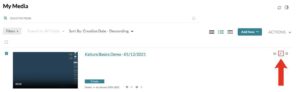
Scroll down to “Media Collaborators” under the Collaboration tab in the desired media and click the “x” icon next to the collaborator you want to delete:

-
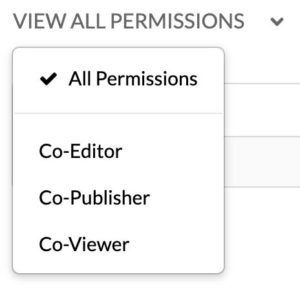
You can specify the collaborator type by clicking on the “v” icon next to “VIEW ALL PERMISSIONS” and then selecting the desired option:
-
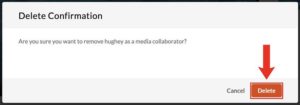
Once you’re prompted with the confirmation request, hit “Delete”: