Classroom Equipment Tutorials:
Interactive White Board
Getting Started
- Make sure the interactive white board’s power cord located behind it is plugged in and then press the power button:

- Download the SMART kapp app if you haven’t yet. It is available for Apple devices or Android devices.
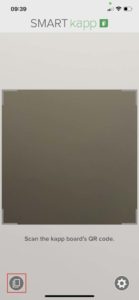
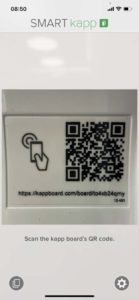
- Make sure that, on your device, Bluetooth is on. Then use the SMART kapp’s scanner to scan the QR code on the board:
- There will be a dry eraser and a marker available; just write with it as you normally would on a regular white board:

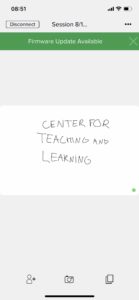
- Once you’re connected to the board, all that is written will appear on the app as well:
Screenshot Feature
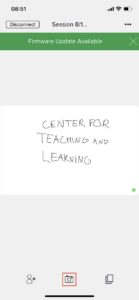
- You can then take a screenshot of the screen either through the app by clicking on the camera icon or through the board by clicking on the camera button:
or

-
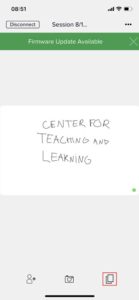
- You can access the screenshots folder by clicking on the screenshots icon:
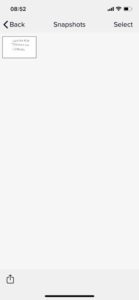
- You can save the screenshots somewhere other than the app by clicking on the desired picture and then selecting the share option:
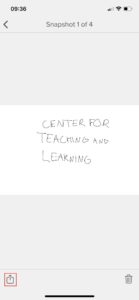
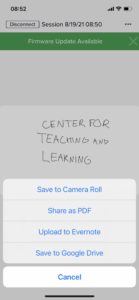
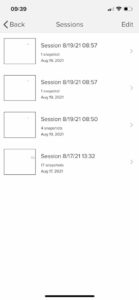
- You can access all your class sessions’ screenshots by clicking on the screenshot icon from the main page:
