Kaltura Tutorials:
How To Upload, Create & Manage Media
How to upload Media to Kaltura on Canvas
-
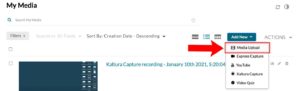
Go to your Kaltura My Media page, select “Add New” and then select “Media Upload”:
-
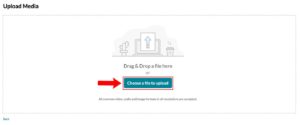
Select “Choose a file to upload” and select the media you want to upload:
-
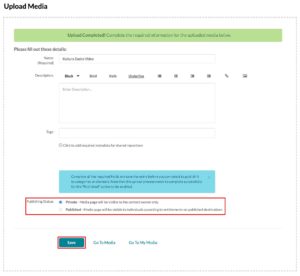
Add any more content you’d like and hit “Save”:
-
You need to publish your media to make it available to viewers. You can do that by checking the “Published” check box next to “Publishing Status” or by publishing it later on.
-
How to upload YouTube videos to Kaltura on Canvas
-
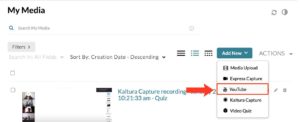
Go to your Kaltura My Media page, select “Add New” and then select “YouTube”:
-
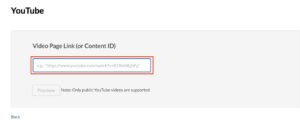
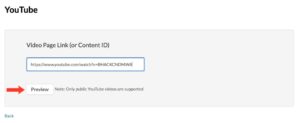
You’ll land on a page asking you for the “Video Page Link (Or Content ID)”. Paste the YouTube link in the provided box and then click “Preview”:
-
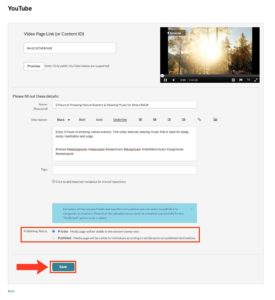
You’ll then be taken to the details page where you can change the name, description & tags on the video. Once you’re done, hit “Save”:
-
You need to publish your media to make it available to viewers. You can do that by checking the “Published” check box next to “Publishing Status” or by publishing it later on.
-
How to Delete media from Kaltura
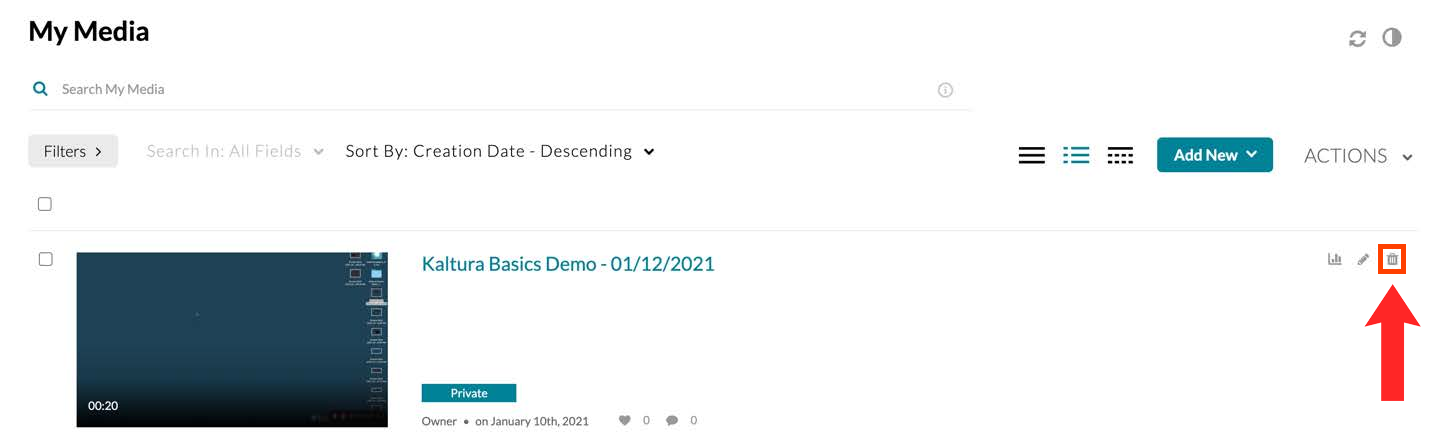
- To delete a single file, go to Kaltura My Media and click on the trashcan icon next to the desired media:
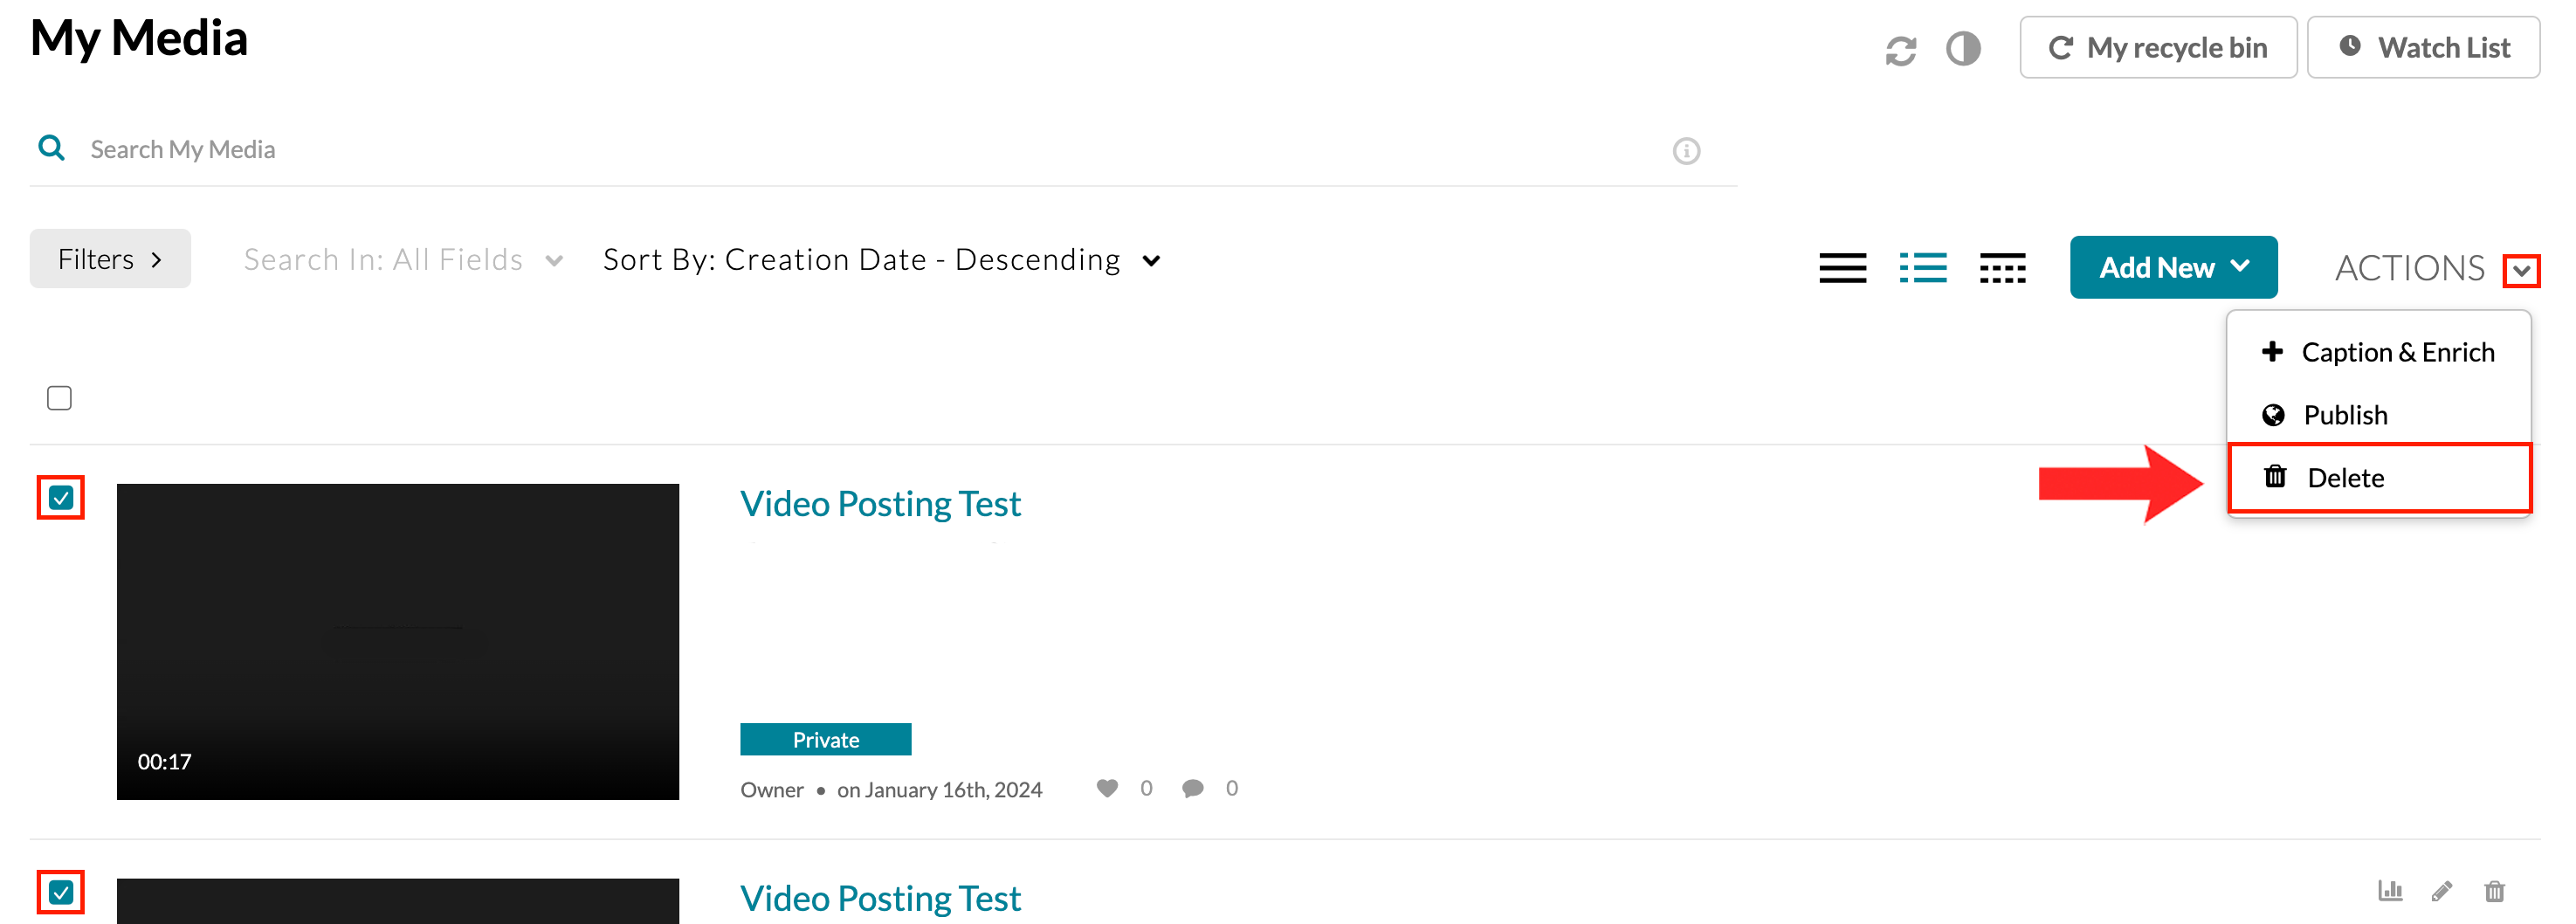
- To delete multiple files at once, go to Kaltura My Media, check the checkbox next to the desired files and then hit “Delete” under Actions:
How to create a recording using Kaltura
-
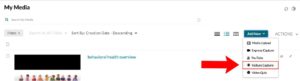
Go to Kaltura My Media, click on the “Add New” button and select Kaltura Capture:
-
Avoid using Express Capture:
→ Express Capture records directly from the server meaning if you have any network issues, your recording would be immediately erased.
→ Express Capture doesn’t allow for re-uploads meaning you only have one shot at making the recording.
→ Express Capture does not allow multiple video streams meaning you can’t show more than one thing at once. For example, you wouldn’t be able to share a PowerPoint and show your face at the same time.
-
-
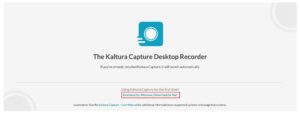
You’ll land on a page that says “The Kaltura Capture Desktop Recorder”. Wait a couple second to see if Kaltura Capture launches automatically. If it does, move on to step 3.
-
If it doesn’t, select either “Download for Mac” or “Download for Windows” accordingly, click on the downloaded file and follow any installation steps that appear on your screen.
-
-
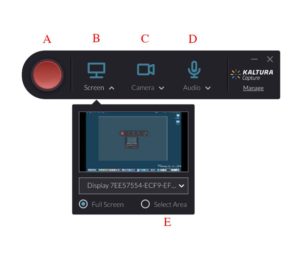
When you first launch Kaltura Capture, you will see the following interface:
-
A: Record.
-
B: Click the blue monitor icon to Enable/Disable Screen Recording & click the word “screen” to Modify Screen Input.
-
C: Click the blue camera icon to Enable/Disable the Camera & click the word “camera” to Modify Camera Input.
-
D: Click the blue microphone icon to Enable/Disable Audio & click the word “audio” to Modify Audio Input.
-
E: Select a specific area of the screen to record.
-
-
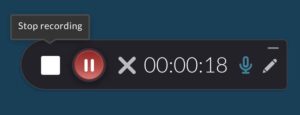
Press the red button to record and once you’re done, click on the white square icon:
-
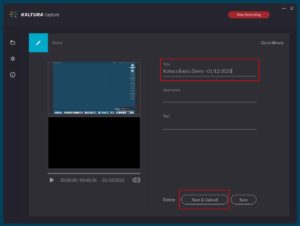
Once the recording is stopped, choose a title that will help you remember what the video is about and then click “Save & Upload”:
-
You can watch the video before uploading by clicking the ▶ icon.
-
You can delete the recording by clicking on “Delete”.
-
You can save without uploading by clicking “Save”.
-
-
After a couple minutes, your recording will appear in Kaltura My Media:
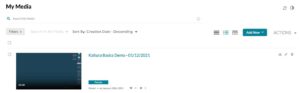
Don’t forget you still have to publish your video for it to be available to others.
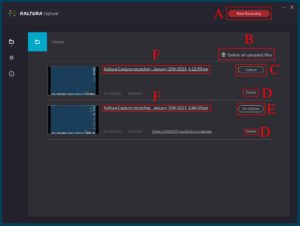
The Kaltura Library
-
A: Create a new recording.
-
B: Delete all media you have uploaded.
-
C: Upload recording.
-
D: Delete recording.
-
E: Re-upload recording.
-
F: Watch recording & edit title.
How to move media from Kaltura My Media to Kaltura Media Gallery
-
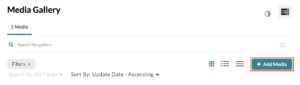
Go to the Kaltura Media Gallery tab in the course you want to add the media to and click on “Add Media”:
-
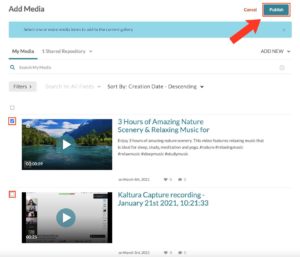
You will then be taken to a page displaying all your available media. Check the checkbox next to all the media you want to add to your course and then hit “Publish”:
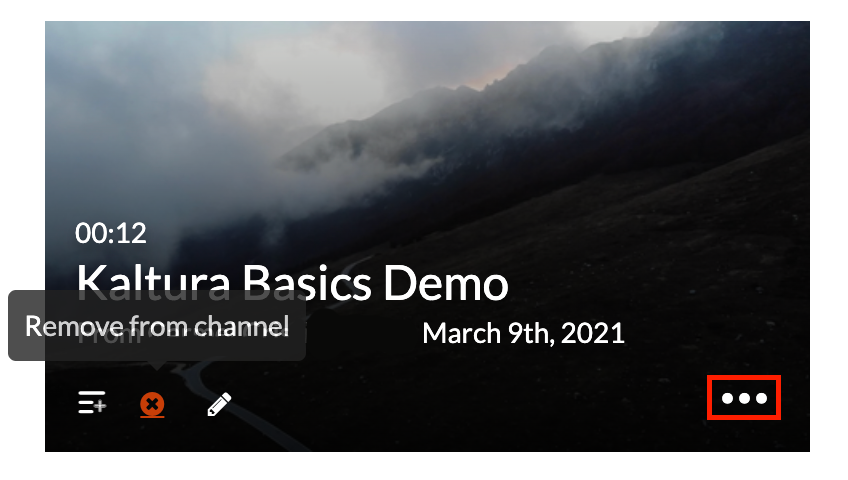
How to remove media from Kaltura Media Gallery
- Go to Kaltura Media Gallery, hover over the desired media, click on the “…” icon and click on the “x” icon: