MediaSpace Tutorials:
How to Share Your Media
How to Download your Media
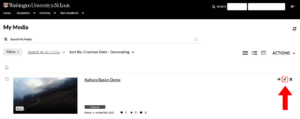
- Go to your My Media tab and click on the edit (pencil) icon next to the media you wanna download:
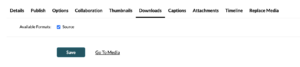
- Go to the Downloads tab, check the “Source” box and then hit save:
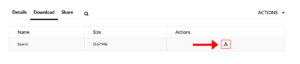
- Go back to your My Media tab, click on the desired media, click on the Download tab and hit the download button:
How to Share a Link to your Media
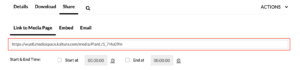
- Go to your My Media tab, click on the desired media, go to the Share tab and copy the provided link to send out:
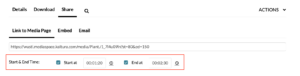
↳ You can pick the Start and/or End points by checking the respective boxes and either entering the time manually or clicking the ![]() icon to start/end at the current time your video is on.
icon to start/end at the current time your video is on.
How to Embed Your Media
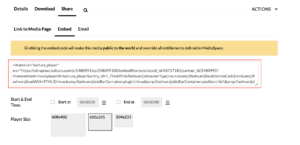
- Go to your My Media tab, click on the desired media, go to the Share tab then Embed tab and copy the embed link provided to paste on a different page:
Embedding any media will override any access levels restricted and make it public to the world.
↳ You can pick the Start and/or End points by checking the respective boxes and either entering the time manually or clicking the ![]() icon to start/end at the current time your video is on.
icon to start/end at the current time your video is on.

↳ You can change the Player Size by clicking on your desired dimensions.

Channels & Galleries
Another way to organize and share your media is by creating a Channel or a Gallery for it. You simply need to copy the url associated with it and send it to your audience.
A gallery will function as a category on the WashU MediaSpace site. It will appear as a tab on the page’s main header and can only be created by an admin on an as-needed basis. For more information on galleries, please email us at edtechtools@wustl.edu.
A channel is a collection of content curated by a subset of users. Channels can be created by any users by following these steps:
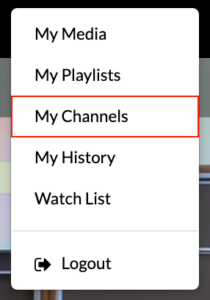
- Click on your name on the top right corner of the screen and click on My Channels.
- Click on “Create Channel”:

- Fill out the required information and then hit save.
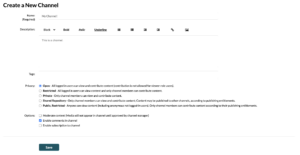
Make sure to pick a privacy level that matches your needs.
You can add users to your channel either to share the content with a specific set of users or to give them different permissions on content management within the channel. To add users to your channel:
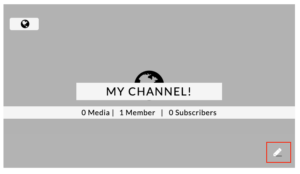
- Go to My Channels, hover over the desired channel and click on the edit (pencil) icon:
- Go to the Users tab and then click on “Add Users”:

- Type in the member username, pick a role for them and then hit add:
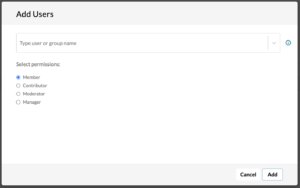
↳ Member: View channel content only.
↳ Contributor: View channel content and add media to the channel.
↳ Moderator: View channel content, add media to the channel, and moderate channel content.
↳ Manager: View channel content, add media to the channel, moderate channel content, and manage the channel (delegate managerial rights to additional users).
To add media to your channel:
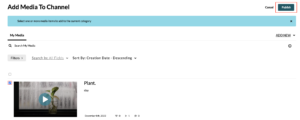
- Go to My Channels, click on the desired channel, navigate to the media and then click “Add to Channel”:

- Click the checkbox next to the media you want to add and then hit “Publish”: