Kaltura Tutorials:
How to Use Playlists
How to Create a new Playlist
-
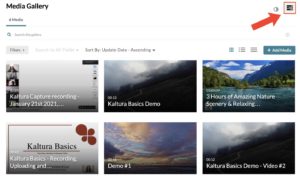
Go to your Kaltura Media Gallery on the course you want to add a playlist to and click on the three bars (menu) icon on the top of the screen:
-
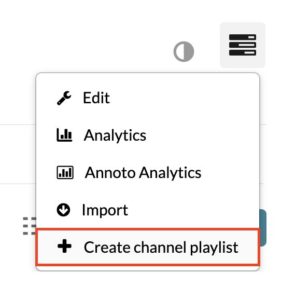
Once the dropdown menu pops up, click on “Create channel playlist”:
-
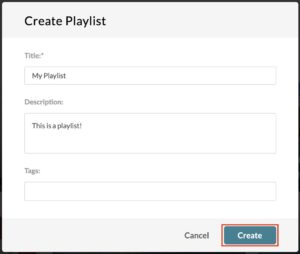
You will then be taken to the Create Playlist interface. Give your playlist a title, add a description and tags if you’d like and then click on “Create”:
-
To add videos to your playlist, click on the “+” icon next to the desired video:

↓

-
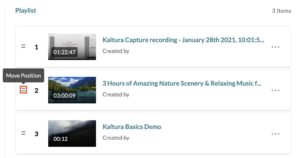
You can rearrange the order of the videos on your playlist by clicking and holding onto the two bars icon next to the video you want to move and then dragging it up or down as desired:
-
Alternatively, you can click on the “…” next to the video you want to move and click on either “Move to Bottom” or “Move to Top”:

-
-
-
To remove videos from your playlist, click on the “…” icon next to the desired video and click on “Remove”:

-
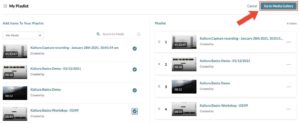
Once you are done adding your videos, click on the “Go to Media Gallery” button:
-
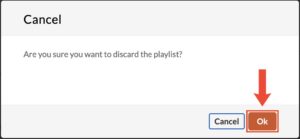
If you changed your mind and would like to discard your playlist, click on “Cancel” and then on “Ok” once you’re prompted to confirm the cancellation:
 ↓
↓
-
-
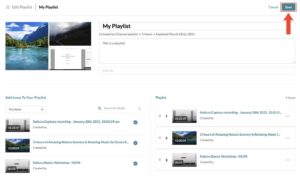
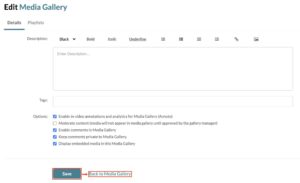
You will then be taken to the final interface. Add any extra information or make any changes you’d like, click on “Save” and then on “Back to Media Gallery”:
-
Your playlist will now be displayed under the Playlists tab in your Kaltura Media Gallery:

-
How to Edit an existing Playlist
-
To edit an existing playlist, to your Playlists tab under Kaltura Media Gallery in the course the playlist is in and click on the title of the playlist:

-
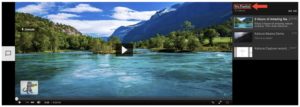
You will then be taken to this page. Click on the playlist title again:
-
On the next interface, click on the “Edit” button:

-
In the next page, you will be able to do any changes you’d like. Once you are done, hit the “Save” button:
